Network Sharing of Printer
Windows XP/ Windows 2000
Cautions
Check to ensure that you can access the computer to which the printer is connected.
Check also to ensure that the printer can be shared.
Close
- A [Printers and Faxes] screen appears.
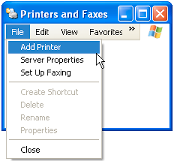
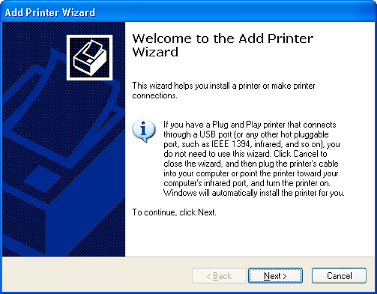
- A “Welcome to the Add Printer Wizard” screen appears.
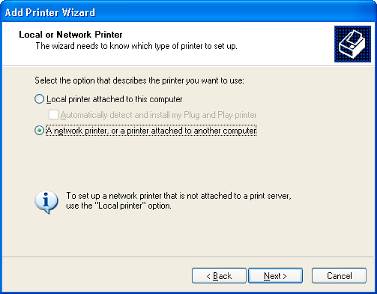
- A printer type selection screen appears.
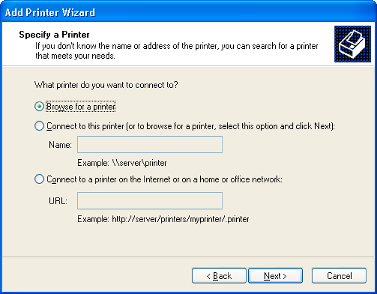
- A “Specify a Printer” screen appears.
- A “Browse for Printer” screen appears.
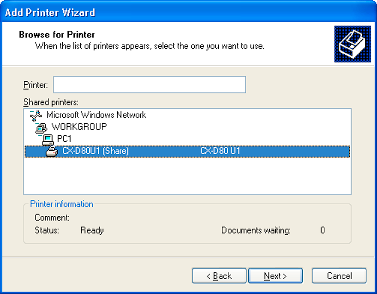
- A [Connect to Printer] screen appears.

- A “Default Printer” screen appears.
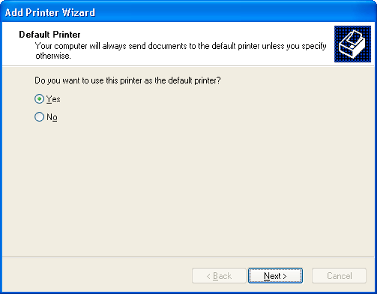
- A “Completing the Add Printer Wizard” screen appears.
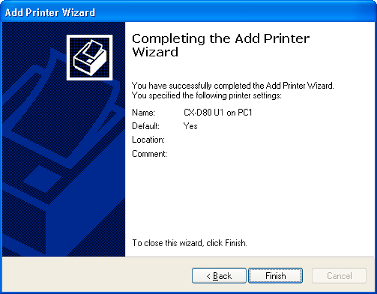
- Network sharing of the printer is complete.
- Check to ensure that the printer is added.
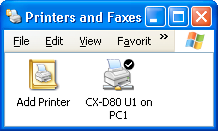
Cautions
When the access authority of the computer is not proper, the printer may not be able to perform printing even if installation of the printer driver is completed.
Ensure that the access authority is proper according to the instructions of the network administrator.
Ensure that the access authority is proper according to the instructions of the network administrator.
Close
Close
Windows Vista
Cautions
Check to ensure that you can access the computer to which the printer is connected.
Check also to ensure that the printer can be shared.
Close
- A [Printer] screen appears.
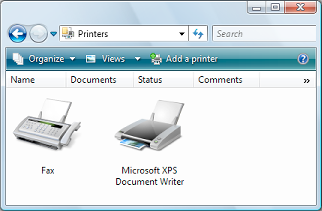
- A printer selection screen appears.
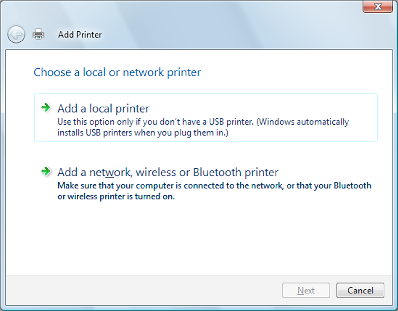
- A screen for selecting the printer appears.
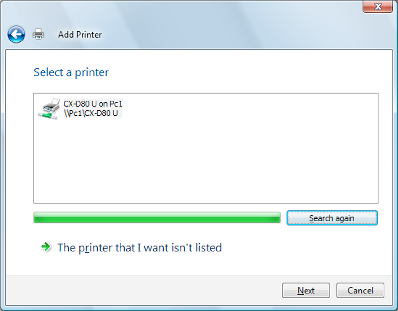
- A driver installation confirmation screen appears.
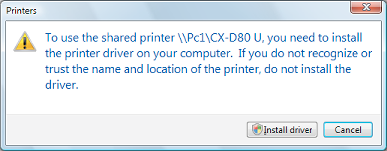
- A [User Account Control] screen appears.
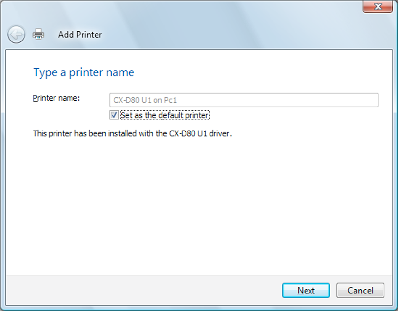
- A screen for entering the printer name appears.
- A screen indicating that the printer is added appears.
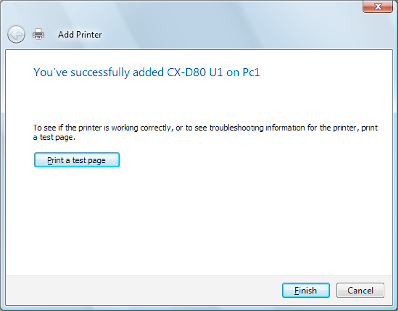
- Network sharing of the printer is complete.
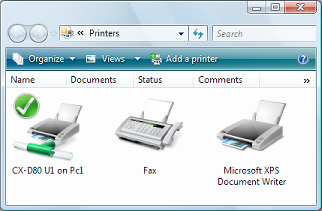
- Check to ensure that the printer is added.
Cautions
When the access authority of the computer is not proper, the printer may not be able to perform printing even if installation of the printer driver is completed.
Ensure that the access authority is proper according to the instructions of the network administrator.
Ensure that the access authority is proper according to the instructions of the network administrator.
Close
Close