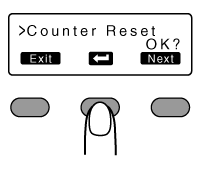
Setting Using the Operation Panel
Initialization
- Whenever the power is turned on, cue (initialization) is performed automatically on the ink ribbon and retransfer film.
- You can also perform initialization manually using the operation button on the operation panel.
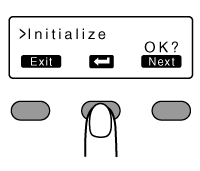
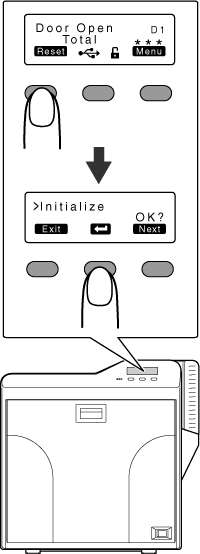
- An [Initialize OK?] message appears.
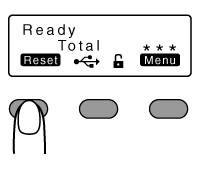
- An [Initializing..] message appears, and initialization of the printer starts.
Close
Initializing Printer When Installing the Cassette
Memo
When detaching the ink ribbon cassette or retransfer film cassette from the printer body, dust may adhere to the ink ribbon or retransfer film. Errors such as discoloring may occur depending on the size of the dust particles. To avoid these problems, it is recommended that you forward by one or two images after installing the cassette.
Close
- An [Initialize OK?] message appears.

Close
Test Print
- Prints the printer’s built-in test pattern, or the different settings.
- The printer unit can be made to run alone when a system error occurs by separating the computer from the printer.
Test Pattern Types
- Test Pattern:
Prints standard color pattern on a single side of a card.
- Printer Setting:
Prints the printer settings.
- Network Setting:
Prints the network settings.
- Lami Setting:
Prints the laminator settings.
- A [Cleaning] message appears.
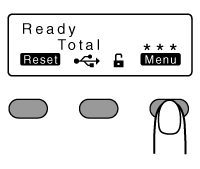
- Pressing it each time displays the next setting item.
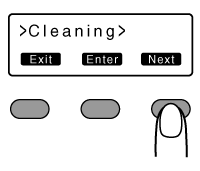
- A test pattern selection screen appears.
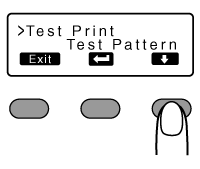
- Test print starts.
Close
Firmware Update
- A [Cleaning] message appears.

- Pressing it each time displays the next setting item.

- A [Download Ready] message appears, indicating that the printer is ready to download data from the computer.
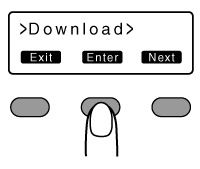
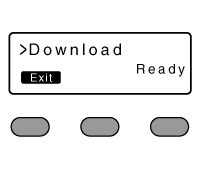
- A [Downloading..] message appears.
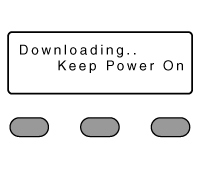
Cautions
Do not turn off the power during data download from the computer.
Doing so may damage the printer firmware and cause malfunction.
Doing so may damage the printer firmware and cause malfunction.
Close
- A [Download Ready] message appears when data download from the computer is complete.

- The firmware is updated after the power is turned on again.
If download fails and printer cannot be started up
- If download of the printer firmware fails, the printer may not be able to start up when it is rebooted. When this occurs, download the firmware again according the following procedure.
- A [SBP2 Running] message appears, indicating that the printer is ready to download data from the computer.
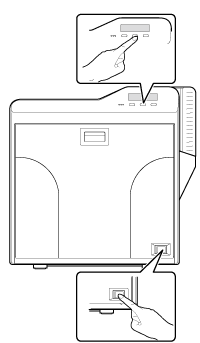
- A [Downloading..] message appears.
- A [SBP2 Running] message appears when data download from the computer is complete.
- The firmware is updated after the power is turned on again.
Close
Display Mode Setting
- This is used for setting the information to be displayed on the operation panel.
Settings
- Counter:
Displays the counter preset in "Counter setting".
- Laminator State:
Displays the operating status of the connected laminator. If a laminator is not connected, the counter is displayed.
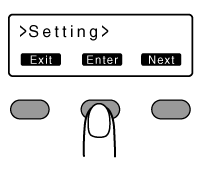
- A [Cleaning] message appears.

- Pressing it each time displays the next setting item.

- A [Display] message appears.
- A [Mode] message appears.
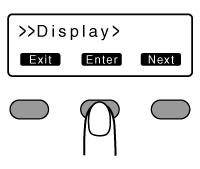
- Enters the settings change mode.
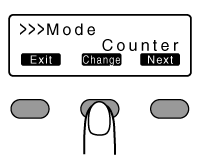
- Pressing
 confirms the setting and returns you to the previous screen.
- Pressing it each time displays the setting item on the next higher level.
Close
Counter Setting
- This is used for setting the type of counter displayed on the operation panel.
Counter Types
- Total Cnt: total counter
Displays the total number of cards that are correctly printed.
- Head Cnt: head counter
Displays the total number of printed sides for the same head.
- Free Cnt: free counter
Displays the number of cards that are correctly printed. This number can be reset.
- Cleaning Cnt: cleaning counter
Displays the number of cards that are correctly printed after the last cleaning.
- Error Cnt: error counter
Displays the number of cards that are not correctly printed. This number can be reset.
- A [Cleaning] message appears.

- Pressing it each time displays the next setting item.

- A [Display] message appears.

- A [Mode] message appears.

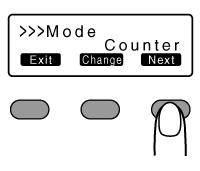
- Enters the settings change mode.
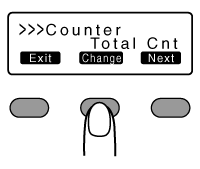
- Pressing
 confirms the setting and returns you to the previous screen.
- Pressing it each time displays the setting item on the next higher level.
Close
Contrast Setting
- For setting the contrast of the operation panel display.
- A [Cleaning] message appears.

- Pressing it each time displays the next setting item.

- A [Display] message appears.

- A [Mode] message appears.

- Pressing it each time displays the next setting item.

- Enters the settings change mode.
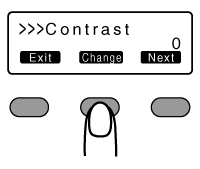
- Pressing
 confirms the setting and returns you to the previous screen.
- Pressing it each time displays the setting item on the next higher level.
Close
Buzzer Setting
- For setting whether to sound the buzzer when an error occurs or when settings are changed.
- A [Cleaning] message appears.

- Pressing it each time displays the next setting item.

- A [Display] message appears.

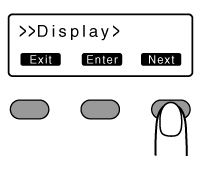
- Enters the settings change mode.
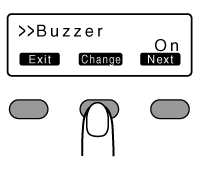
- Pressing
 confirms the setting and returns you to the previous screen.
- Pressing it each time displays the setting item on the next higher level.
Close
Unit Number Setting
- For setting the printer’s unit number according to the USB environment.
- A [Cleaning] message appears.

- Pressing it each time displays the next setting item.

- A [Display] message appears.

- Pressing it each time displays the next setting item.
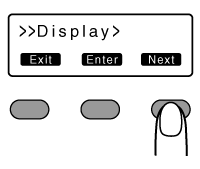
- Enters the settings change mode.
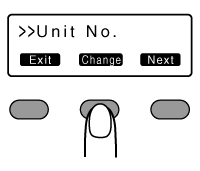
- You can select the unit number from No. 1 to No. 10.
- Pressing
 confirms the setting and returns you to the previous screen.
- Pressing it each time displays the setting item on the next higher level.
- The changes to the setting will be reflected when you turn on the power again.
Close
Transport Mode Setting
- When transporting or moving the printer, ensure that the heating roller is fastened to a safe position.
Cautions
Make sure that you set to the transport mode when transporting or moving the printer. Failure to do so will cause the printer to malfunction.
Close
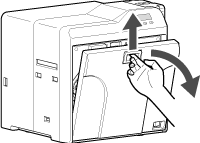
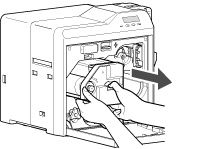
Press and hold down the cassette button, and remove the ink ribbon cassette (on the right) to remove the ink ribbon
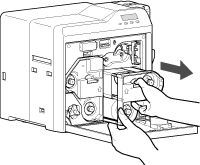
Press and hold down the cassette button, and remove the retransfer film cassette (on the left) to remove the retransfer film
- A [Cleaning] message appears.
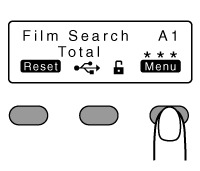
- Pressing it each time displays the next setting item.

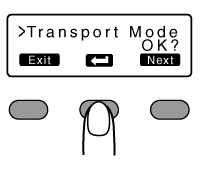

- After setting to the transport mode, a [Please Power Off] message appears.
Cautions
While in the transport mode, the retransfer film cassette cannot be installed to the printer with the retransfer film loaded.
Close
Close

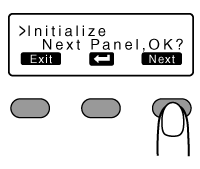
 to set to [Next Panel, OK?]
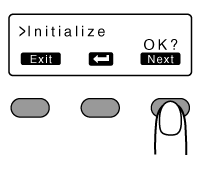
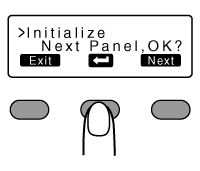
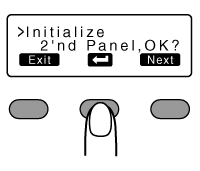


 and select a test pattern type

